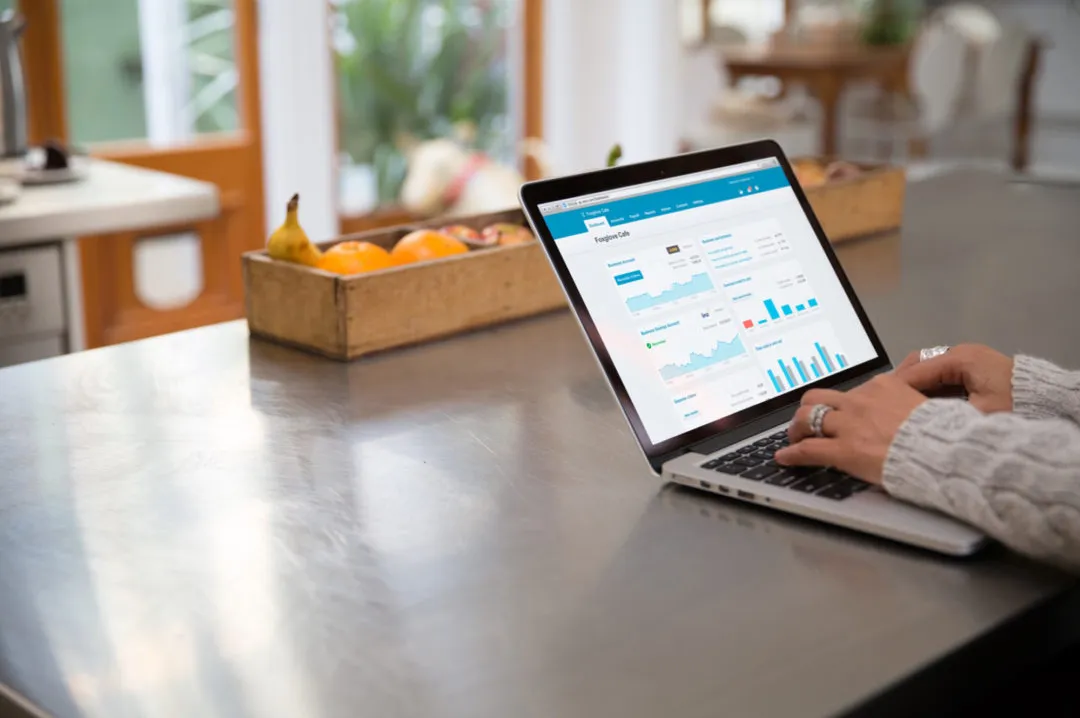
Having the right information on hand before you set up your accounts in Xero will save you and your accountant a lot of time.
It may take a few days to assemble the information required like organisational details, tax information, invoice content requirements as well as planned layout, logos, colours and graphics, multi-currency transaction needs, banking details and user-access permissions. With these on hand, your Xero account can be quickly created and customised. If you’re unsure where you should get all the necessary details, be sure to ask your Xero accountant or bookkeeper for help.
Let’s look in more detail at what you need.
Organisational Details
Your organisational details will be displayed on all your documentation such as your invoices and reports.
- Legal name, as well as the trading name, should they differ.
- Organisation type, such as a company, close corporation, trust, non-profit organisation, sole trader, or partnership.
- Entity registration number or identity number in the case of a sole trader or partnership.
- Financial year-end date.
- Contact details, including physical address, postal address, email address, and telephone number.
- A short description of the industry you operate in.
- Social media handles, if applicable.
Sales Tax, VAT, or GST
Each country has their own rules regarding sales tax, VAT, and GST. Xero will adjust the tax rules according to the country you select.
It is important to set up your tax correctly from the start; otherwise, reports will be incorrect and can create an avoidable nightmare. The information required includes:
- The tax period, e.g. the frequency at which you need to submit tax returns.
- Sales tax, VAT, or GST number.
- Decide whether invoices should be accounted for on the accrual or cash basis.
Invoice Settings
Invoices can be customised and personalised to your preferences. Get these together to set up your invoice, credit note, quotations, and statement templates correctly:
- Terms, conditions, or payment instructions you want to display on the invoice, statement, or quote.
- Payment terms, such as payable within 30 days.
- If you’re already in business, you need the last invoice and credit note number from your previous accounting system.
- Decide whether you want to display amounts on invoices inclusive or exclusive of tax.
You can also add your logo to the documents. Here are some guidelines of what Xero accepts:
- File type: Accepted formats are JPG, GIF, or PNG.
- File size: The size should not exceed 1MB.
- Physical size: The shortest side should be at least 140 pixels wide.
Foreign Currencies
The Premium version of Xero supports multi-currency transactions. If you trade across borders and some transactions, whether sales or purchases, will be in another currency, make sure you buy or upgrade to Premium version.
During setup, you will need to select all the currencies in which you trade.
Bank Accounts
Xero supports bank accounts, credit cards, as well as PayPal, and automatic feeds can be set up to import transactions into Xero, making reconciliation a dream. It is not necessary to set banking feeds up during this phase, so just get the following details ready for now:
- The bank name.
- The bank account number or email address in the case of PayPal.
- The currency, if foreign currencies are used.
Opening Account Balances
If you’re starting a new business from scratch, there won’t be any opening account balances to bring in. But, if you are converting from another accounting package, get a list of all accounts and their final balances ready.
If you start accounting for transactions in Xero on 1 November, your opening account balances will be the closing balances from your old accounting package as at 31 October.
Users and Access Levels
Make a list of all the users you want to have access to your accounts. These can include in-house staff members, as well as your bookkeeper or accountant.
Include the following information:
- First name and last name.
- Email address.
- User role.
Xero has different functions to choose from. It is important that you select the correct level of access for each person as you don’t want to restrict someone from performing their duties, but you also don’t want them to have access to data that they’re not supposed to see.
Here is a short description of each of the available roles:
- Read only: These users will be able to view most areas of your accounts, but won’t be able to edit or add any information.
- Invoice/bill only: This role is for users who need to work on sales or supplier invoices only. They will not have access to the bank accounts or any reports. Furthermore, you can choose whether they can only draft invoices and bills but not approve, whether they have access to only sales or purchases, and whether they can approve documents and pay bills.
- Standard: The standard user has full access to Xero, except publishing reports. The only reports that they can access are the sales tax report and the bank reconciliation summary.
- Advisor: The advisor role has full control over the accounts. Advisors can do everything that the standard user can as well as lock periods, publish reports, and write adjusting journals. The advisor role is typically the kind of access you’ll grant your bookkeeper or accountant.
Ready to Set up Your Xero Accounts?
Setting up your accounts in Xero is easy, but it can be quite confusing if you haven’t done it before, which is why we help our customers set their accounts up free-of-charge when signing up for one of our monthly packages.
If you need any help creating an entity in Xero, or if you’re not sure where to get the necessary information, feel free to get in contact with us at Contador Accountants.

